**Important -** Installing flexAIserver erases the selected target disk. Make sure that the correct server and target disk have been selected before continuing.
--- ## Method A – USB Drive ### 1. Create a Bootable USB Drive Use a suitable image-writing tool such as **balenaEtcher** to write the flexAIserver ISO image to a USB flash drive: [https://www.balena.io/etcher/](https://www.balena.io/etcher/)**Important -** Writing the ISO image erases all existing data on the USB drive.
When the USB drive is ready: 1. Insert it into a USB port on the server. 2. Connect a keyboard. 3. Power on or restart the server. ### 2. Open the Boot Manager During server startup, press **F11** to open the Dell Boot Manager. [](https://docs.junger.audio/uploads/images/gallery/2026-09/scaled-1680-/a1gf3xY9VDaHhlVO-install0-png.png) **Dell PowerEdge boot screen – press F11 to open the Boot Manager.** ### 3. Open the One-shot UEFI Boot Menu Select **One-shot UEFI Boot Menu**. [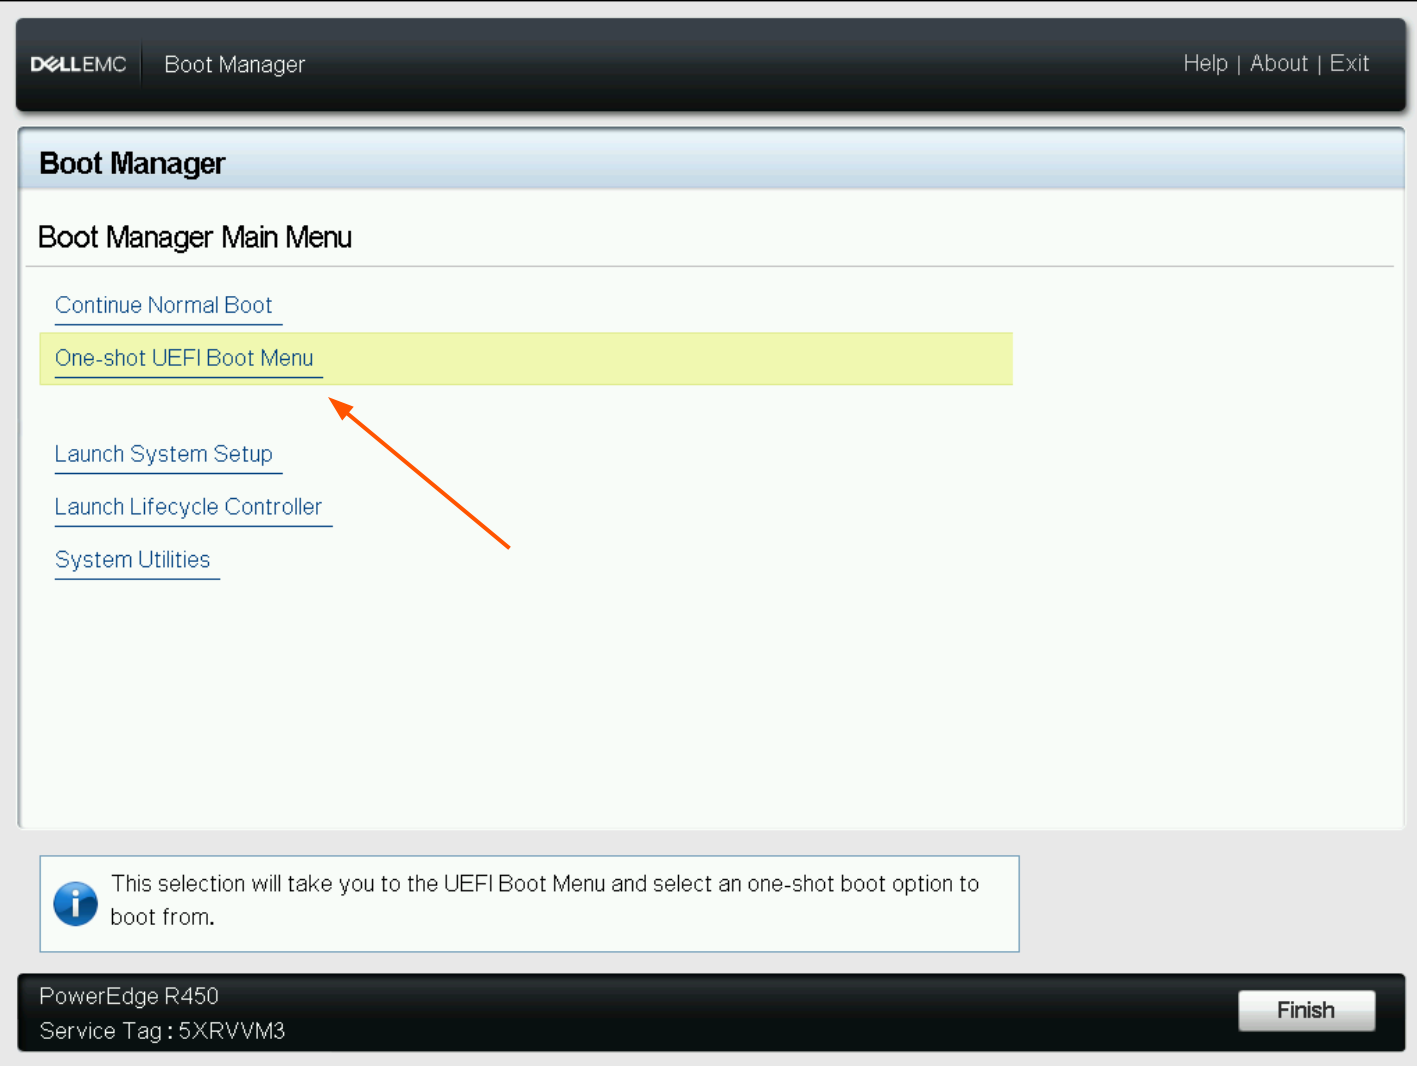](https://docs.junger.audio/uploads/images/gallery/2026-09/scaled-1680-/gUHAIhZbccyPqUVH-install1-png.png) **Boot Manager – select One-shot UEFI Boot Menu.** ### 4. Select the USB Drive In the UEFI boot list, select the entry corresponding to the connected USB drive. [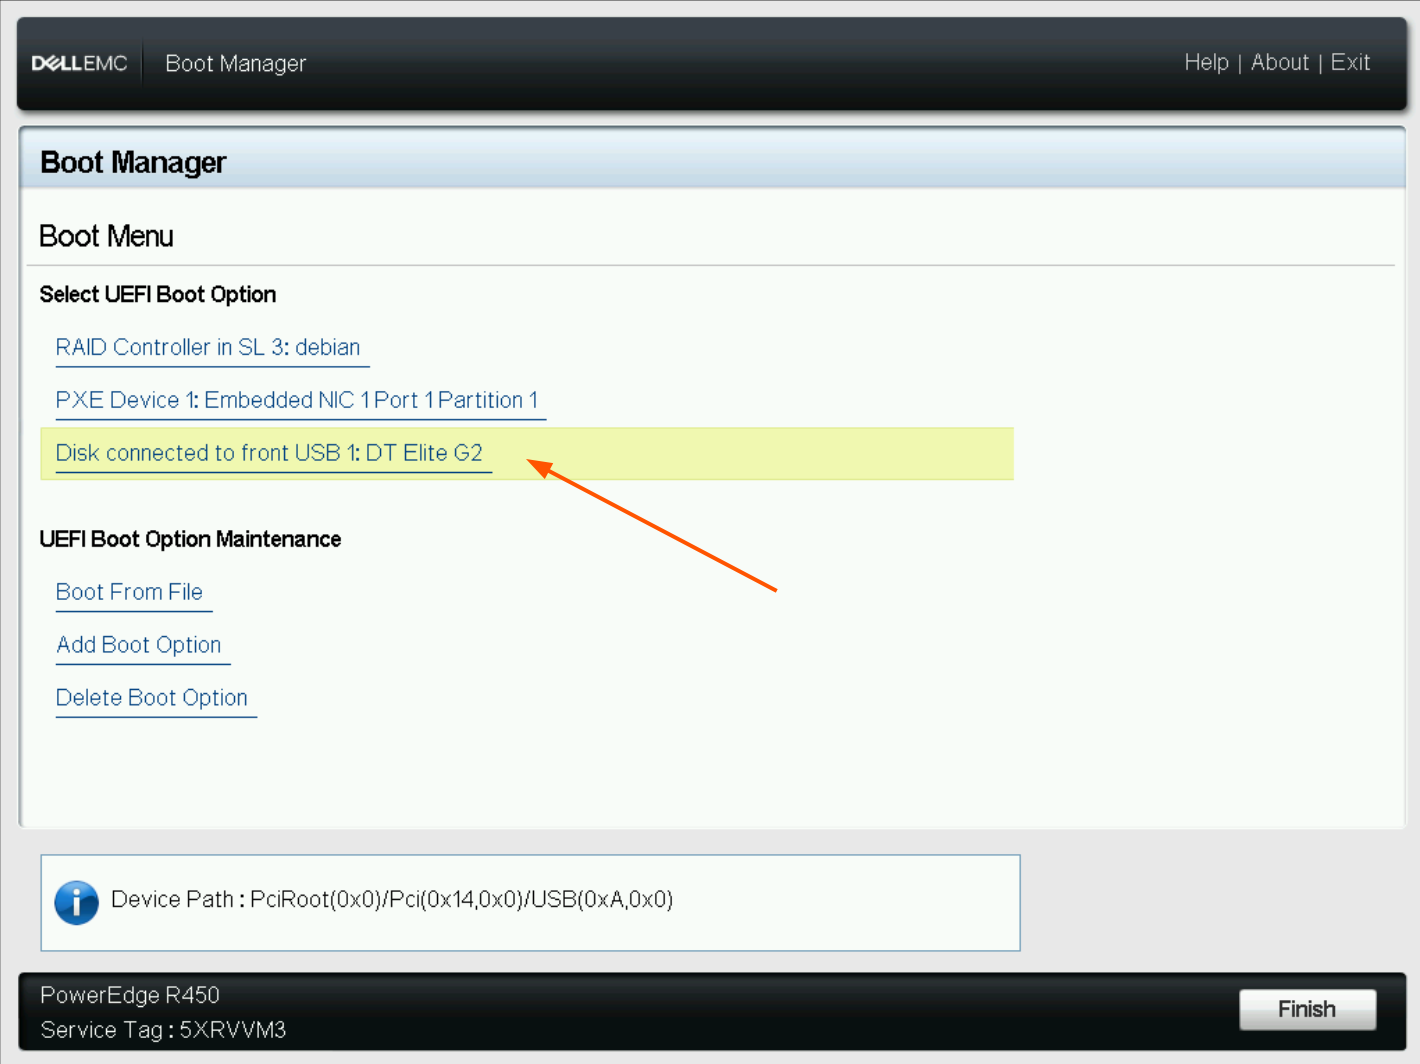](https://docs.junger.audio/uploads/images/gallery/2026-09/scaled-1680-/LXwPWq4h0rCJHHXr-install2-png.png) **Select the USB installation drive. USB installation only.** Continue with **Common Installation Steps** below. --- ## Method B – Dell iDRAC Virtual Media ### 1. Map the ISO as Virtual Media Open the Dell **iDRAC Virtual Console**. In the Virtual Console, open **Virtual Media** and map the flexAIserver ISO image as a virtual CD/DVD. [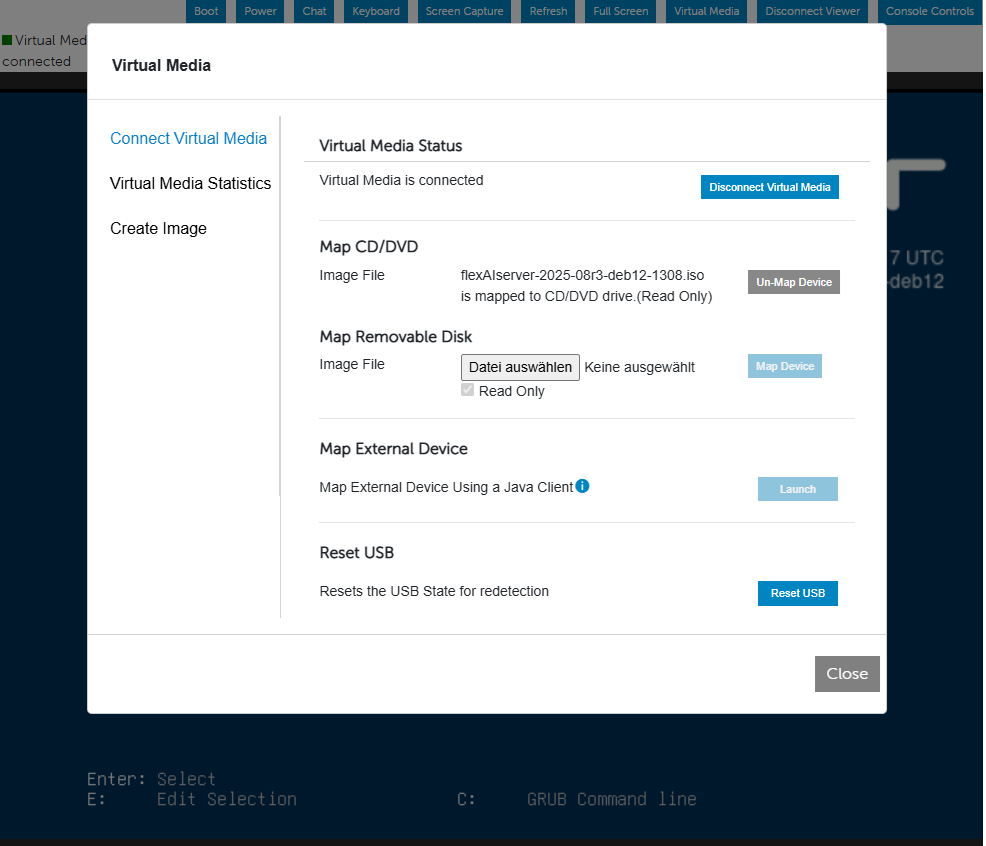](https://docs.junger.audio/uploads/images/gallery/2026-09/scaled-1680-/eJlWyNSMcznwSYmK-idrac-virtual-media-mount-png.png) **iDRAC – flexAIserver ISO mapped as Virtual CD/DVD. iDRAC installation only.** ### 2. Restart the Server From iDRAC, select **Power > Reset System (warm boot)** to restart the server and make the virtual installation media available during boot. [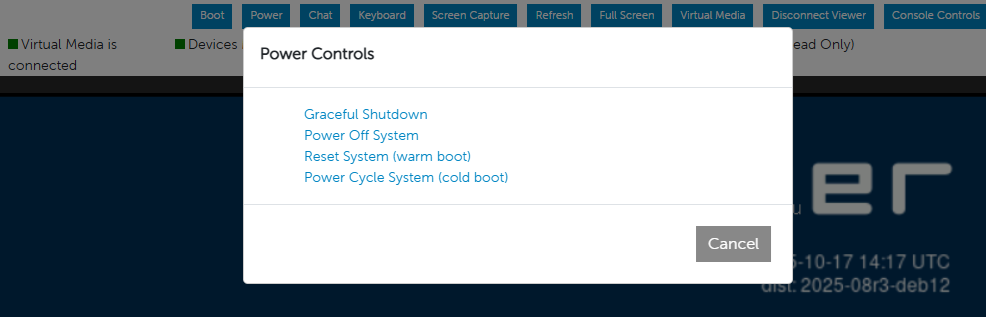](https://docs.junger.audio/uploads/images/gallery/2026-09/scaled-1680-/pzXXMvvF2lXNqZfW-idrac-warmboot-png.png) **iDRAC – restart the server using Reset System (warm boot). iDRAC installation only.** ### 3. Boot from the Virtual Optical Drive During startup, open the **Boot Manager**, select **One-shot UEFI Boot Menu**, and then select **Virtual Optical Drive**. [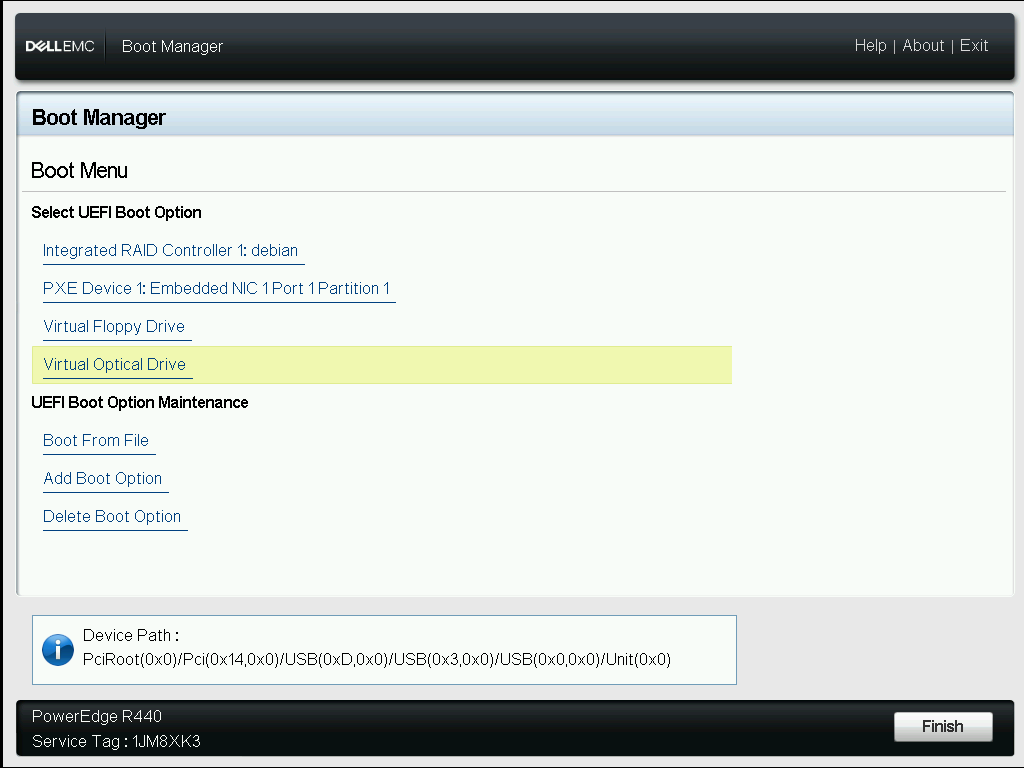](https://docs.junger.audio/uploads/images/gallery/2026-09/scaled-1680-/I76mUSnoPw6bDH0y-idrac-boot-from-virtual-optical-drive-png.png) **Boot from Virtual Optical Drive. iDRAC installation only.** Continue with **Common Installation Steps** below. --- ## Common Installation Steps The following steps are identical for USB and iDRAC installations. ### 1. Start the Installer In the GRUB menu, select **Graphical install** and press **Enter**. [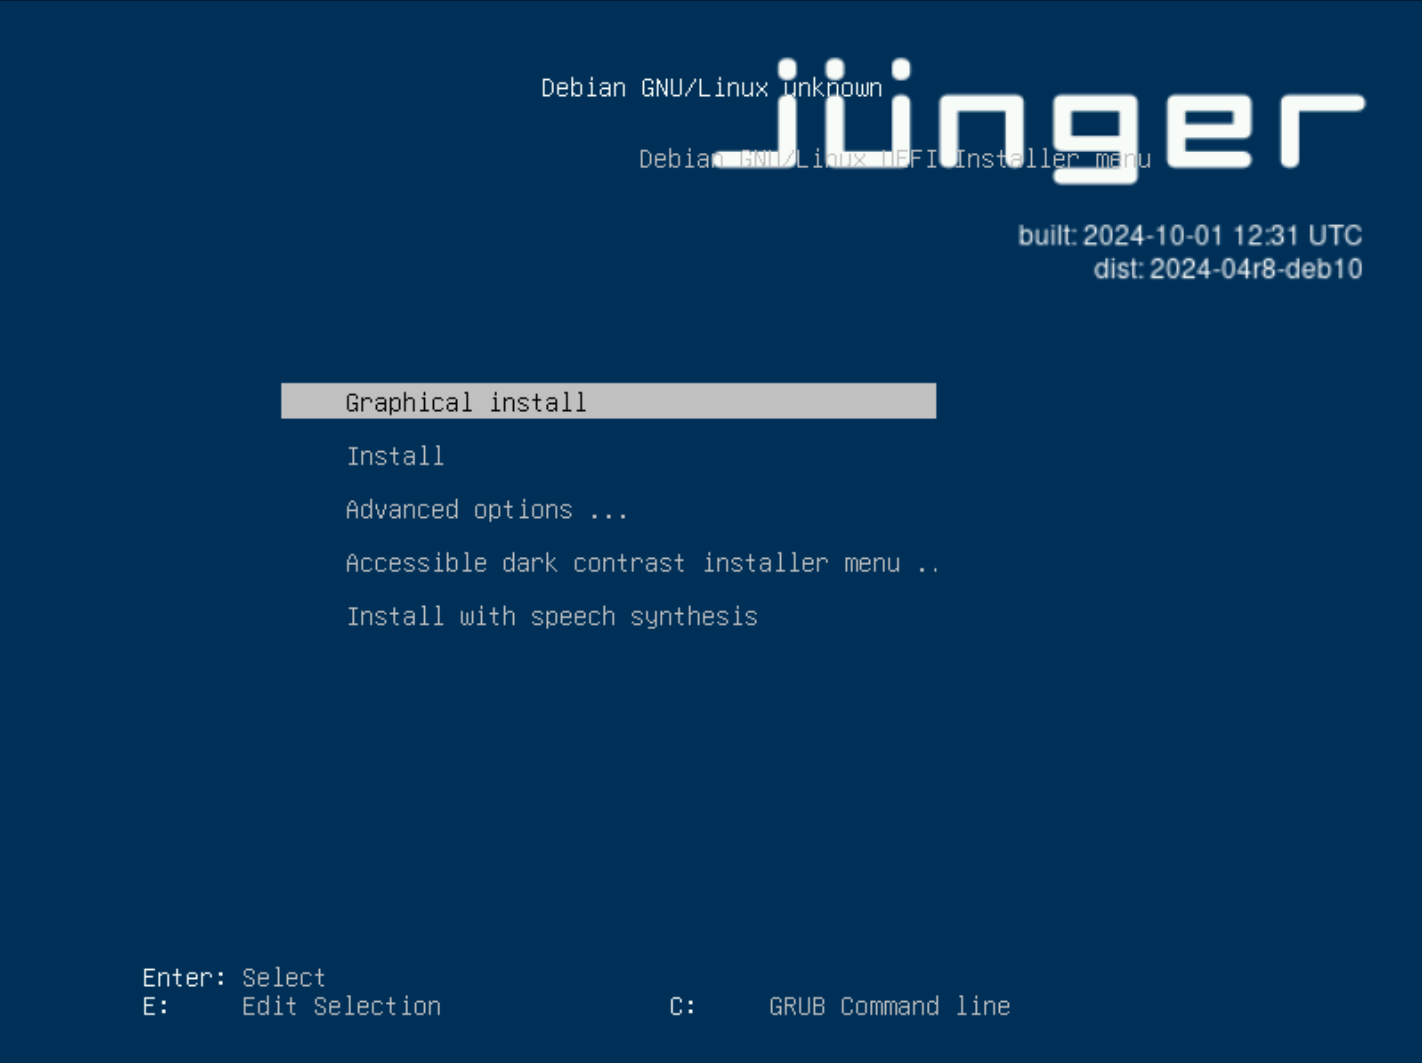](https://docs.junger.audio/uploads/images/gallery/2026-09/scaled-1680-/IvwiJAGJorhWxuMh-install3-png.png) **GRUB – select Graphical install. Applies to both installation methods.** ### 2. Set the Host Name When prompted, enter the host name to be used by the flexAIserver. For a Jünger Audio pre-configured system, the host name can follow the device serial number, for example: `flexAIserver-00119` Alternatively, use a suitable host name according to the naming conventions of your network environment. [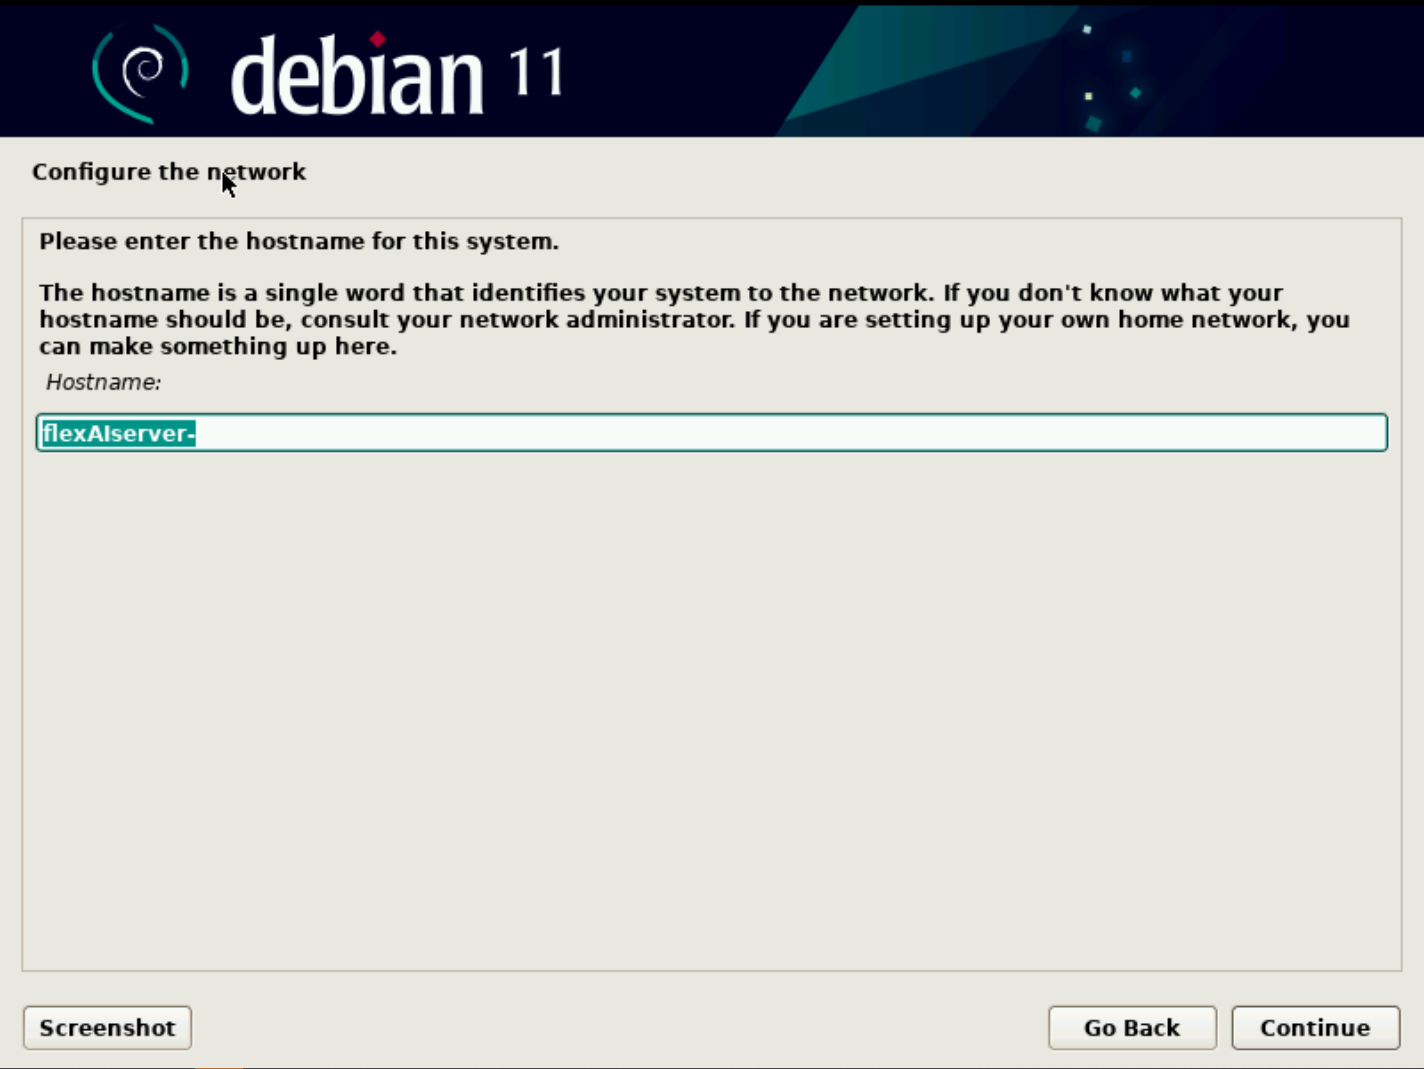](https://docs.junger.audio/uploads/images/gallery/2026-09/scaled-1680-/Ef4PdszcTJ6btFri-install4-png.png) **Enter the host name for the flexAIserver. Applies to both installation methods.** ### 3. Select the Target Disk Select the internal system disk on which flexAIserver should be installed. On Dell PowerEdge systems with a PERC RAID controller, the internal storage may appear with a name such as **DELL PERC**. For USB installations, make sure that you do **not** select the USB installation drive. [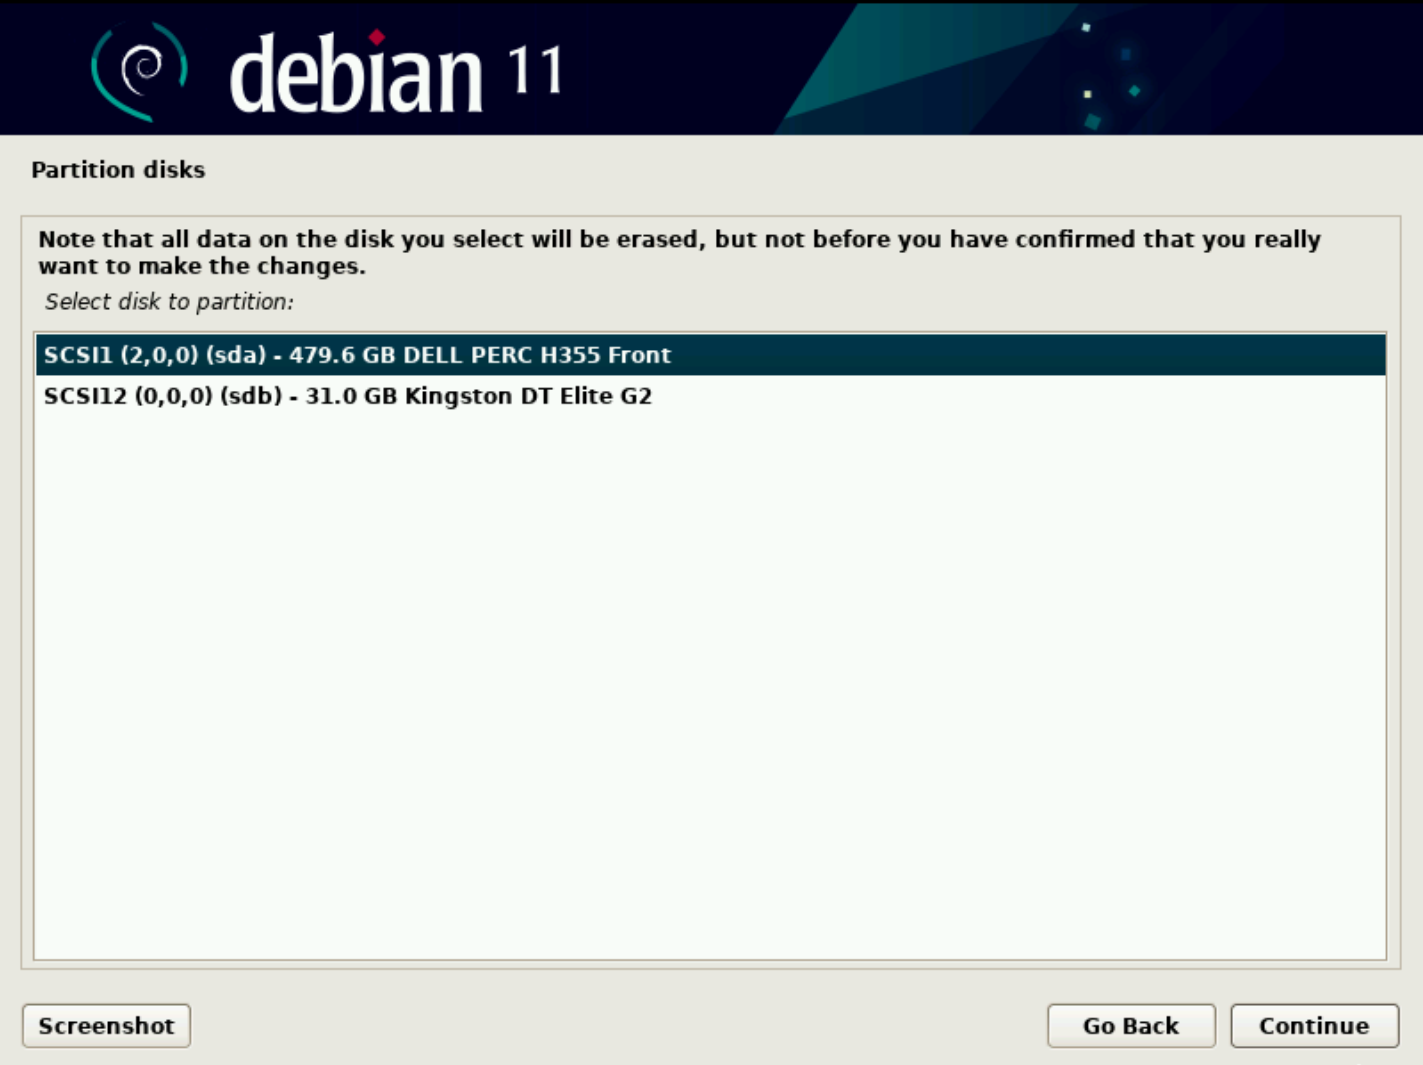](https://docs.junger.audio/uploads/images/gallery/2026-09/scaled-1680-/GOrHL0iPJU4kotIi-install5-png.png) **Select the internal system disk. Do not select the USB installation drive. Applies to both installation methods.****Important -** All existing data on the selected target disk will be erased during installation. Verify the selected disk carefully before continuing.
### 4. Complete the Installation Allow the installer to complete the installation process. [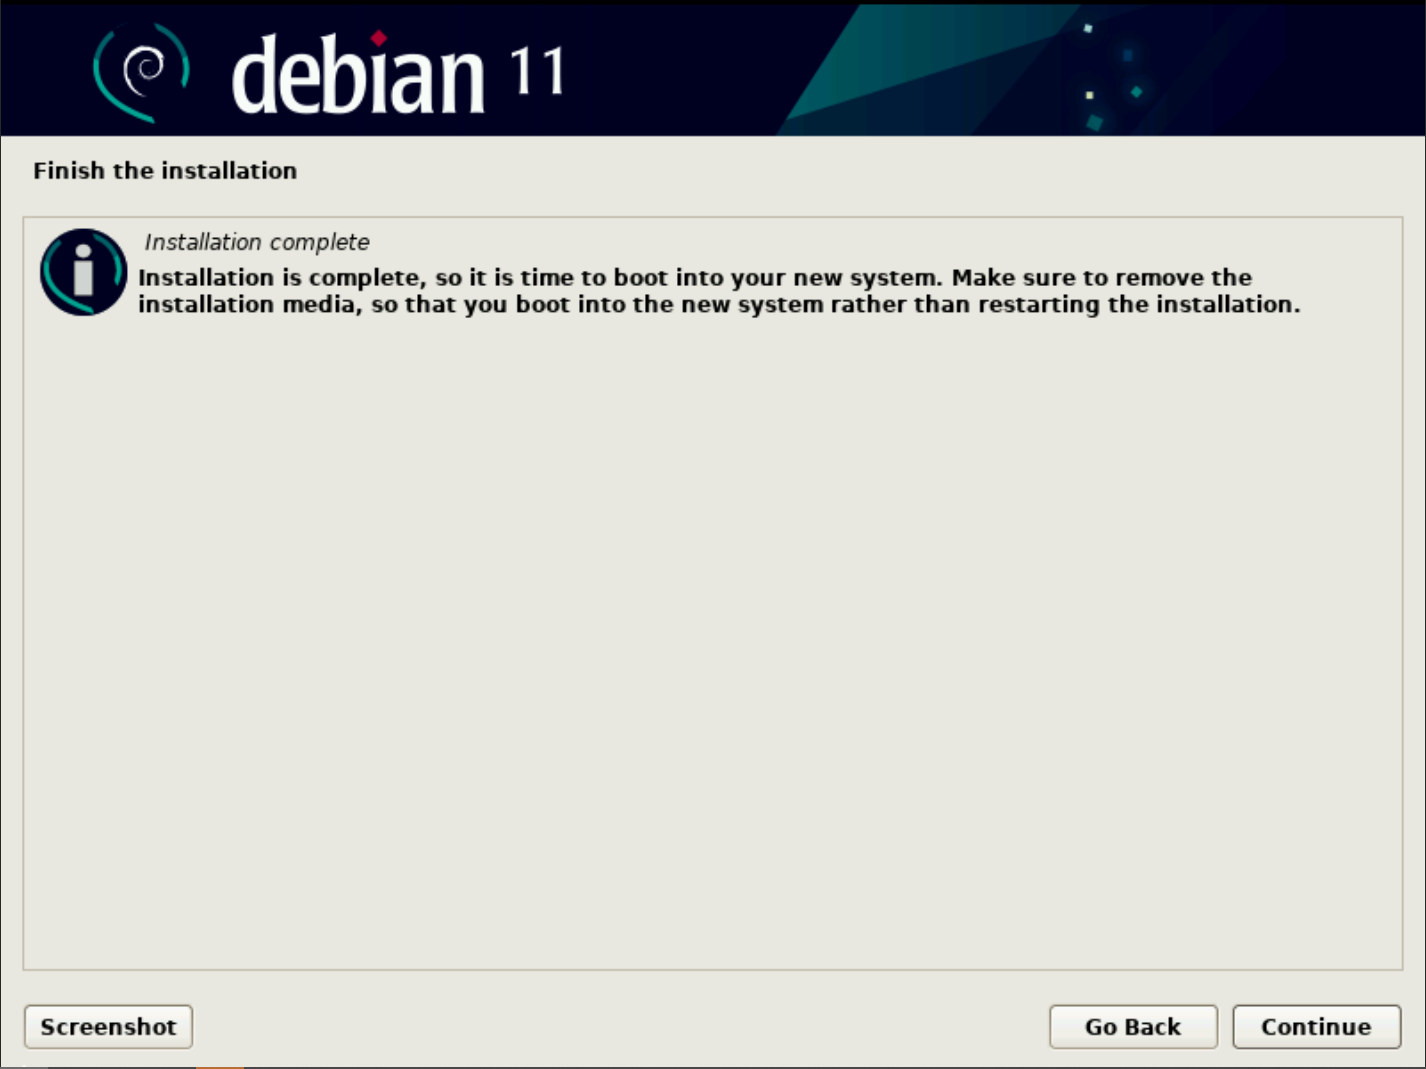](https://docs.junger.audio/uploads/images/gallery/2026-09/scaled-1680-/U5uSmVAZqq8JQYBR-install6-png.png) **Installation complete. Applies to both installation methods.** Before rebooting: - **USB installation:** Remove the USB installation drive. - **iDRAC installation:** Unmap or disconnect the virtual installation media. Restart the server and allow it to boot from the newly installed system disk. Continue with the **Initial Setup** procedure to complete the flexAIserver configuration.